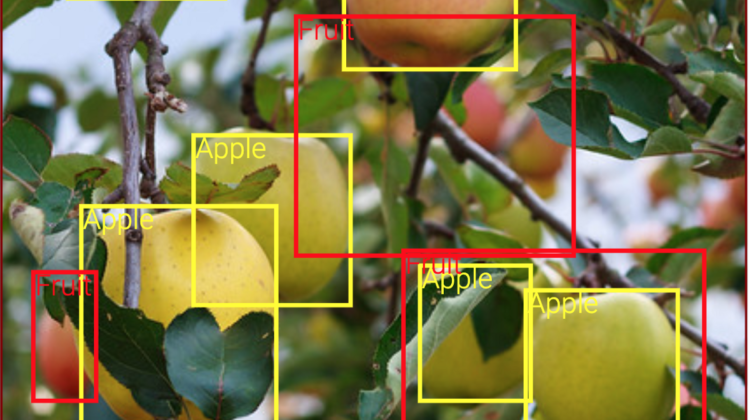
Object detection with AIoT: An edge computing example
A few weeks back when I was window shopping at AliExpress I came across the wonderful Maixduino device. It was claimed to carry RISC V architecture along with a KPU (KPU is a general-purpose neural network processor). Contrasting specs of the board were as follows;
- CPU: RISC-V Dual Core 64bit, with FPU
- Image Recognition: QVGA@60fps/VGA@30fps
- Power consumption of chip < 300mW
Truth be told, the unit is old and has only been taking attention lately. Well, given my interest in edge computing I thought of presenting a complete end to end guide for an object detection example. This example is based on knowledge taken from this article by Dimitry. However, I’ll have a comprehensive walkthrough on how to collect images and annotate them as well. If you want to know what edge computing is, feel free to read the following article.
Let’s try to build an image detection program that will be able to border out apples and bananas. You can be creative with your detector. We will discuss required tools and libraries as we move along.
Transfer learning is the idea that we use a pre-trained model for further specialization. In simple terms, you replace the last prediction layer of the trained model with your own classification layer (or more layers). Then you freeze the layers except for yours (or a few of the pre-trained ones too). Then you train the network so that the features of the pre-trained model will be used to fine-tune your layer to predict the classes that you want.
Unfortunately, at the moment the network we’ll be training does not have any pre-trained models. Hence, we will be mostly training ground up. But it’ll be an interesting experiment!
We need to prepare the data in the following format. First, we need images with apples and bananas. At the same time, we need them annotated as to where each fruit might be inside the image. This is where the difference between object classification and detection comes. We need to say where the object is. For this, you need the following tool.
In my example, I am using the following program as I capture from the webcam. Pick the easy method. The following program comes compiled with Nvidia jetson nano get started container.
We want to train our models so that they could run on the MaixDuino device. For this, we can use the following repository. It has all the necessary modifications to the model layers to suit the architecture of the K210 processor. Clone and install the required dependencies. All instructions are available at the following link;
We need to organize our training data as follows;
path-to/data
---anns      # store the training annotations
---imgs      # relevant images for the training
---anns_val  # validation annotations
---imgs_val  # validation images
Now we need to create a config.json to set the training options. For our case it should look like below;
{
"model" : {
"type":                 "Detector",
"architecture":         "MobileNet7_5",
"input_size":           [224,224],
"anchors":              [0.57273, 0.677385, 1.87446, 2.06253, 3.33843, 5.47434, 7.88282, 3.52778, 9.77052, 9.16828],
"labels":               ["Apple", "Banana"],
"coord_scale" :  1.0,
"class_scale" :  1.0,
"object_scale" :  5.0,
"no_object_scale" :  1.0
},
"weights" : {
"full":     "",
"backend":              "imagenet"
},
"train" : {
"actual_epoch":         50,
"train_image_folder":   "data/imgs",
"train_annot_folder":   "data/anns",
"train_times":          2,
"valid_image_folder":   "data/imgs_val",
"valid_annot_folder":   "data/anns_val",
"valid_times":          2,
"valid_metric":         "mAP",
"batch_size":           4,
"learning_rate":        1e-4,
"saved_folder":     "obj_detector",
"first_trainable_layer": "",
"augumentation":  true,
"is_only_detect" :   false
},
"converter" : {
"type":       ["k210"]
}
}
Note: use absolute paths to avoid unwanted errors.
Next, we can train using the following command;
python3 aXelerate/axelerate/traing.py -c config.json
Now the training is complete. We are interested in the kmodel file generated within the project folder. We can move it to a microSD card and connect it to the MaixDuino device.
Prediction
Following is the sketch I will be using in the maixPy IDE.
import sensor,image,lcd
import KPU as kpulcd.init()
sensor.reset()
sensor.set_pixformat(sensor.RGB565)
sensor.set_framesize(sensor.QVGA)
sensor.set_windowing((224, 224))
sensor.set_vflip(1)
sensor.run(1)classes = ["Apple", "Banana"]
task = kpu.load("/sd/name_of_the_model_file.kmodel")
a = kpu.set_outputs(task, 0, 7, 7, 35)anchor = (0.57273, 0.677385, 1.87446, 2.06253, 3.33843, 5.47434, 7.88282, 3.52778, 9.77052, 9.16828)
a = kpu.init_yolo2(task, 0.3, 0.3, 5, anchor) while(True):
img = sensor.snapshot().rotation_corr(z_rotation=90.0)
a = img.pix_to_ai()
code = kpu.run_yolo2(task, img)if code:
a = kpu.deinit(task)
for i in code:
a = img.draw_rectangle(i.rect(),color = (0, 255, 0))
a = img.draw_string(i.x(),i.y(), classes[i.classid()],
color=(255,0,0), scale=3)
a = lcd.display(img)
else:
a = lcd.display(img)
Be sure to change the output parameters to fit that in the trained neural network in kpu.set_outputs(task, 0, 7, 7, 35). Now you’re ready to run the program. It is quite easy. Check out the following screenshots.
