An Easy Intro to Audio Speech Synthesis
Deepfakes are realistic videos or audio created from the output of a deep neural network. Like any technology, they have the potential for both malice and great kindness. A criminal could use your voice to dupe your family members into sending them money, or a doctor could use your voice to give someone a voice they had lost. Today, with the breadth of data available on YouTube and other video sharing sites, it has become increasingly accessible to train models of public personas. It’s up to you to use this responsibly.
How
We’ll be creating personalized speech from written text. This will take about a few hours of setup and a night or two of training. However, there’s one step we’ll need to take care of first.
English can be complicated. Why is the ‘c’ in ‘cat’ pronounced like a ‘k’, but the ‘c’ in ‘cell phone’ pronounced like an ‘s’? These inconsistencies make it hard for non-native speakers to learn English, and similarly, it’s hard for models to understand as well. Luckily for us, there’s actually an alphabet of sounds called ARPABET that can translate any standard English words into their corresponding sounds. We’ll be using this as an intermediate step to teach the model what sounds we’re looking for.
Afterward, we’ll be using TacoTron2 + WaveGlow (2018) as our model architecture to generate the speech. It’s a few years old, but it’s still one of the best public speech synthesis solutions right now.
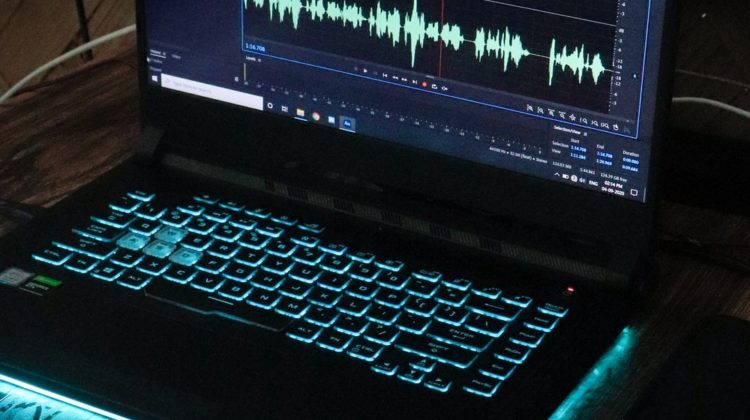
TacoTron2 predicts a visual representation of speech called a mel-spectrogram from the text input. It’s a blueprint for which frequencies to include at any time. WaveGlow then takes that mel-spectrogram and synthesizes the speech from it.
We can train both Tacotron2 and WaveGlow, but training is rather expensive (since it requires GPUs and time), so we can use some of the pre-trained model checkpoints that have already been published as a starting point.
Since the mel-spectrogram is the more important of the two in recreating someone’s voice, we’ll be focusing on training only Tacotron2, and using just the public pre-trained setup for WaveGlow.
Step 1: Obtain a Dataset And Clean It (~1 hour)
Dataset preparation is usually the most critical part of this process. If the data isn’t set up correctly, it’s challenging for the model to learn well.
To train Tacotron2, we’ll need a clean and formatted dataset of speech from our speaker. Optimally, we’ll have a couple of hours of 2–10 second clips with little to no background noise and corresponding ARPABET transcriptions. Though in some cases, this isn’t always possible.
It’s also much easier for the model to learn off of smaller data segments rather than feeding in the whole data at once, almost like flashcards for humans. However, unlike human memory, the model doesn’t understand what makes up speech, so we also want to minimize any external sounds since the model might accidentally pick up and imitate that as well.
At first glance, this might seem a bit challenging to do, but we’ll leverage YouTube’s subtitles to help us create these clips.
- Find a video of the actor, character, or person whose voice you’d like to synthesize. Again, try to find a video of only that person, with little background audio. This isn’t always possible.
For example, I’ll be using this video of Robin Williams. Since he’s no longer with us, there aren’t many great long clips out there, so I might need to do some additional cleaning to remove parts where there’s quite a lot of background noise like laughter or applause. - Download the video and the accompanying .srt (subtitles) file. There are many websites that’ll do this for you, here’s the first one off Google.
- Split the audio clip into smaller sections. Here’s a short code snippet that you can use. This will also put files into the correct format for training. (Download from Github)
// splits audio file into multiple smaller wav files and generates a text file with the transcriptpython3 srt-parse.py audio.mp4 audio.srt
4. Split training and validation sets. Validation data is used to optimize your training parameters. Test data and to a lesser extent validation data generally is more reflective of performance than training since it makes sure that the model generalizes and doesn’t just memorize the outputs of the training data (overfitting). (Download from Github)
// takes in a 'csv' file (or any other file with the transcript) and splits it into a training list and a validation listpython3 split.py ./out/out.csv
5. Convert to ARPABET. (Download from Github)
// Add arpabet translations to both train and validation datasetspython3 arpabet.py [directory]/val.txt --out-file [directory]/val-arpa.txtpython3 arpabet.py [directory]/train.txt --out-file [directory]/train-arpa.txt
6. Make sure the audio is in the right format (.wav, 22050 Hz sample rate). Run this in a terminal from your directory with the .wav files.
#!/bin/bashfor filename in *.wav; do
echo "Converting $filename"
ffmpeg -y -i $filename -ac 1 -acodec pcm_s16le -ar 22050 -sample_fmt s16 converted/$filename
done
Great! Now we’re ready to train.
Step 2: Training TacoTron2 (~10–16 hours)
For training, we’ll be using this Google Colab from this open source community. It has lots of great detail about how to set up TacoTron2 and Waveglow on free GPUs and saves the models to your Google Drive. Here’s the associated Tensorboard for progress tracking.
Make sure to point the training process to the train-arpa.txt and the val-arpa.txt that you’ve created earlier with the .wav files from the YouTube video after uploading them to Google Drive.
Usually, I’ll leave it on overnight (and make sure my computer doesn’t go to sleep). The number of iterations and time it takes to train can vary greatly, but you’ll want to see a slope of 1 on the alignment graph when the models are done. However, if you’ve trained for quite a while and you don’t see validation loss dropping, then you might need to go back to review your data. If at any point, the model stops training, or you get disconnected, you can always start from a later checkpoint so your progress isn’t lost. Just make sure to rename the output folder so your earlier progress isn’t overwritten.
Step 3: Synthesize the Voice From The Spectrograms (~5 minutes)
At the very end of the training Colab, you should be able to synthesize the audio and test it out. Once you’re happy with the progress, you can save the audio clips to a file.
Conclusion
Congrats! Today, you’ve:
- Explored different potential uses for speech synthesis like in the biotech
- Seen how we can leverage YouTube as a source for deep learning datasets
- Grasped the concepts behind TacoTron2 and WaveGlow in a speech synthesis pipeline
- Learned about ARPABET a different representation for words
- Read about mel-spectrograms, a common way to process audio for machine learning
- Trained and refined your own speech model
This is an active area of research that’s constantly being improved. Last year, a new model architecture called ForwardTacoTron was released that synthesizes audio from words in a single forward pass. There are also more universal alternatives to ARPABET like IPA.
If you’re interested in more articles like this, feel free to shoot me a message about what you’d like to read next!