We will make a simple convolution visualizer. To give a title to our project st.title() is used as follows:
You can run this command in the terminal by running
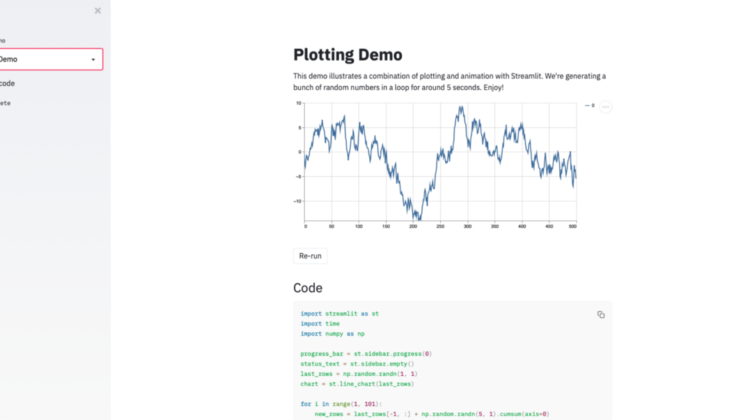
You will get the following output in your web browser:
Now we got to add our pytorch model and start doing something fun. Let’s load a pretrained model of Alexnet. Our plan is to ask the user the layer he/she wants to visualize and then display the convolutions in real-time.
The dictionary alexnet_layersis for mapping the user input to the convolutional layer. The @st.cache decorator does some heavy lifting for you behind the scenes. It allows developers to skip certain costly computations when their apps rerun. The Streamlit cache allows your app to execute quickly even when loading data from the web, manipulating large datasets, or performing expensive computations. When you mark a function with the @st.cache decorator, it tells Streamlit that whenever the function is called it needs to check a few things:
- The input parameters that you called the function with
- The value of any external variable used in the function
- The body of the function
- The body of any function used inside the cached function
The visTensor()method takes in a pytorch tensor as input and plots the tensor and saves it as a file to be later diaplyed by streamlit.
st.selectbox()constructs a dropdown menu. As you can see that currently I just have one network architecture (Alexnet) but the drop down can be extended by adding more elements to the list.
Then we make a dictionary of models. Here you can see that dictionary models only contains one key-value pair but more models can be added to it.
st.file_uploader() helps us upload any image file to our streamlit app. We check if the file is uploaded or not. We also make a slider using st.sidebar.slider() that helps us select number of convolutions per row to display as output. st.button("Visualize") is the button that we intend the user to press and get the results.
If the user clicks the button the code under “if clicked:” gets called.
The complete code is as follows
The following is the output on running