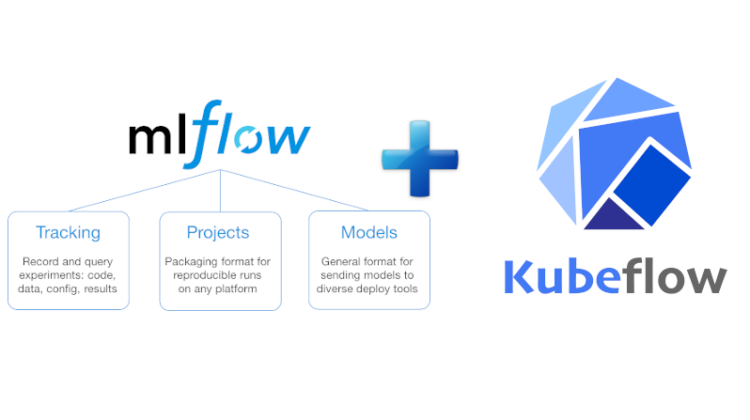
Everyone who have understanding in machine learning understands that machine learning model development is different from traditional software engineering problems. Many tools have to the market trying to solve this problem. Before we start, check out my previous article on why we need MLOps, link to the article: https://medium.com/@wajeehulhassan/ai-is-electricity-and-mlops-is-the-transmission-line-7960e7e8c7fb
Kubeflow and MLFlow are two most renown tools in the domain. Kubeflow and MLFlow both are great tools for model deployment while Kubeflow is far more richer and provides us more components. MLFlow can be used on a local machine and on Kubernetes cluster as well but Kubeflow runs only on Kubernetes, since Kubeflow was made keeping in mind the deployment of scalable machine learning models. We can deploy MLFlow on Kubernetes as well but in this article I am going to show you how we can install MLFlow on Kubeflow and enhance the functionality of Kubeflow.
Kubeflow itself was never meant to replace any machine learning tool, rather it was built to create a scalable environment where all the tools can work in conjunction and create a smooth workflow pipeline.
- Kubernetes
- Kubeflow
- Helm 3
- YAML
- MLFlow
- Docker
Assuming that you already have a running Kuberflow on premise or in the cloud (GCP, AWS, Azure). First we will make sure that all the pods are running and for doing so run the command:
kubectl get pods -n kubeflow
You can see that the pods in my machine are about 2 months old, that’s when I recreated the Kubeflow cluster on Minikube and installed MLFlow in it.
You can also see that I already have MLFLow installed on my Kubeflow cluster, you won’t get the MLFlow pod when you install Kubeflow since it does not come packaged with Kubeflow.
MLFlow have three main components:
- MLFLow Tracking
- MLFlow Projects
- MLFlow Models
Kubeflow also provides us different components. MLFlow is comparatively easier to use, while Kubeflow provides us entrerprise grade workflow management, MLFlow lags behind in that area compared to Kubeflow. In this article we would only discuss MLFlow. We will save Kubeflow for later articles.
For installation of MLFlow on Kubeflow cluster which could allow us to write metadata from different docker containers and view metadata centrally. The main components of MLFlow can be found in the architecture diagram below:
- Minio (comes pre-installed with Kubeflow)
- MLFlow tracking server — (we will install this component in Kubeflow clulster)
We can specify MLFlow log metrics and MLFLow log parameters programmatically. We can also specify the locations of MLFlow log artifact and local artifact storage.
Since default use of MLFlow is for local machine, therefore MLFlow server stores MLFlow runs to either local files or SQLAlchemy compatible database but in our case we will be installing it in a Kubeflow cluster so we would be using remote server for backend.
For storage MLFLow has two components:
- Backend storage – (MLFlow tracking server stores experiment and run metadata as well as tags, metrics, and parameters for runs in the backend storage). Backend storage can be stored as file store or database-backed store. Here we will use file store which is part of docker image. Note: If the container restarts, the data will be lost. For longer storage we can use NFS server or database.
- Artifact storage — it has to be an storage system that can store larger files like which can be a bucket on the cloud or even NFS File system. If you want to use NFS, you might want to configure NFS first. Follow the link to install and configure NFS https://www.kubeflow.org/docs/other-guides/kubeflow-on-multinode-cluster/. In this article we will not be using NFS.
- Minio is hardware agnostic, and can make our artifact storage cloud independent. For artifact storage we will be using Minio.
Our docker file should install mlflow, awscli, boto3, and it should expose post 5000 for communication with MLFlow tracking server. It should also have different environment variables for configuring cloud storage.
We have utilised a script that would run with the docker container as an entry-point.
The run script would create the required directory for mlflow which will be used as the backend storage, while we would also definie the s3 bucket which would be used for storing the artefact. The s3 bucket in our case is minio storage system, and minio is using the storage system that has been given to Kubeflow during its installation. The script runs the host at 0.0.0.0 so any ip can access the server at port 5000.
Now we will build the docker container by running the build.sh script. That build script will build the Dockerfile and name it “lightbend/mlflow:1.0”.
That Dockerfile, run and build script can be found in the Github repository: https://github.com/wajeehulhassanvii/mlflow_on_kubeflow/
After docker container has started. The chart can be installed with Helm. Helm will install MLFlow deployment server, Kubernetes service which will expose the MLFlow deployment, and Virtual Service which will expose MLFlow service to users through the Istio Ingress gateway.
Run the following command in terminal for installing MLFlow helm chart in Kubeflow Kubernetes cluster.
helm install < location of helm chart>
Link to the Github repository: https://github.com/wajeehulhassanvii/mlflow_on_kubeflow
In later articles, we will dive more into MLOps tools.
