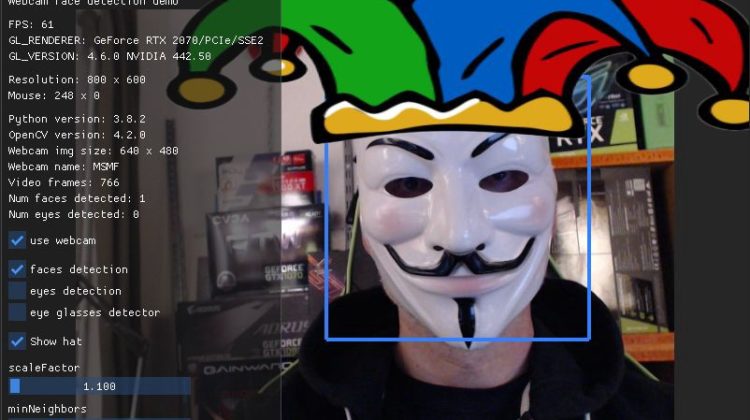
In this Blog, I will be writing a brief introduction on OpenCV, where it can be used, how to get started with OpenCV, different operations on image with it, etc. I’ll also be sharing link to my jupyter notebook where you can take the reference.
OpenCV is a Python library which is designed to solve computer vision problems. OpenCV was originally developed in 1999 by Intel but later it was supported by Willow Garage.
OpenCV supports a wide variety of programming languages such as C++, Python, Java etc. Support for multiple platforms including Windows, Linux, and MacOS.
OpenCV Python is nothing but a wrapper class for the original C++ library to be used with Python. Using this, all of the OpenCV array structures gets converted to/from NumPy arrays.
This makes it easier to integrate it with other libraries which use NumPy. For example, libraries such as SciPy and Matplotlib.
In this tutorial, we’ll cover OpenCV installation on Mac, Windows, and Linux, image operations, image arithmetics, image smoothing, and geometric transformations using OpenCV. So without further ado, let’s start.
Note: Since we are going to use OpenCV in the Python language, it is an implicit requirement that you already have Python (version 3) installed on your workstation. Depending upon your OS, execute one of the following commands to install OpenCV library on your system:
Windows
$ pip install opencv-python
MacOS
$ brew install opencv3 --with-contrib --with-python3
Linux
$ sudo apt-get install libopencv-dev python-opencv
- Reading an image
- Extracting the RGB values of a pixel
- Extracting the Region of Interest (ROI)
- Resizing the Image
- Rotating the Image
- Drawing a Rectangle
- Displaying text
This is the original image that we will manipulate throughout the course of this Blog.
Let’s start with the simple task of reading an image using OpenCV.
The problem with this approach is that the aspect ratio of the image is not maintained. So we need to do some extra work in order to maintain a proper aspect ratio.
There are a lot of steps involved in rotating an image. So, let me explain each of them in detail.
The 2 main functions used here are –
- getRotationMatrix2D()
- warpAffine()
getRotationMatrix2D()
It takes 3 arguments –
- center — The center coordinates of the image
- Angle — The angle (in degrees) by which the image should be rotated
- Scale — The scaling factor
It returns a 2*3 matrix consisting of values derived from alpha and beta
alpha = scale * cos(angle)
beta = scale * sine(angle)
warpAffine()
The function warpAffine transforms the source image using the rotation matrix:
dst(x, y) = src(M11X + M12Y + M13, M21X + M22Y + M23)
Here M is the rotation matrix, described above.
It calculates new x, y co-ordinates of the image and transforms it.
It is an in-place operation.
# We are copying the original image, as it is an in-place operation.output = image.copy()# Using the rectangle() function to create a rectangle.rectangle = cv2.rectangle(output, (1500, 900),(600, 400), (255, 0, 0), 2)#Displaying Imagecv2_imshow(rectangle)
It takes 5 arguments –
- Image
- Top-left corner co-ordinates
- Bottom-right corner co-ordinates
- Color (in BGR format)
- Line width
It is also an in-place operation
# Copying the original imageoutput = image.copy()# Adding the text using putText() functiontext = cv2.putText(output, 'OpenCV', (500, 300),cv2.FONT_HERSHEY_SIMPLEX, 4, (0, 0, 0), 2)#Displaying Imagecv2_imshow(text)
For more information and operations on OpenCV you can always visit below website.
Here’s my jupyter notebook you can check for the references.
I tried to provide all the important information on OpenCv for beginners. I hope you will find something useful here. Thank you for reading till the end. And if you like my Blog please hit the clap button below. Let me know if my blog was really useful.
