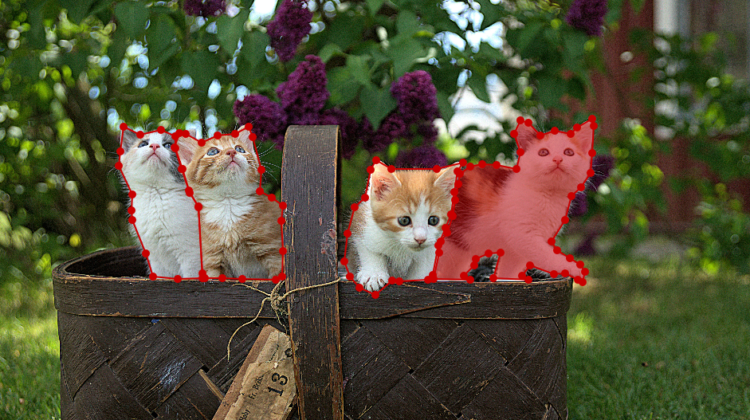
One of the tasks which need to be done before we can start training our instance segmentation model is to annotate the image data. In the image classification task, we only need to collect image data and separate them into folders according to their class.
Instance segmentation requires us to do an additional task, which is to annotate the object of interest. In this way, we are telling our machine learning model which pixels in an image belong to the specific class.
Here we will use Labelme to help us do the job. You can get Labelme and read the docs at this link:
https://github.com/wkentaro/labelme
First, we need to install it. We can get the standalone executable/app at this link:
https://github.com/wkentaro/labelme/releases
After the installation is successful, we can launch the app from the terminal, by typing this command and hit enter:
labelme
We can start with opening an image or click open dir to open the whole image in a folder. Here’s how it looks.
Annotating the image data
To begin annotating the image data we can click on the create polygon menu on the left sidebar and then create a polygon around the edge of the object of interest. This is actually similar to the pen tools on Photoshop application. Once we finished, we can put a name for the annotation. Repeat this process to annotate the whole instances.
Output
The output from Labelme is in a JSON file format. This format is suitable and ready to train with instance segmentation algorithms such as Mask-RCNN.
