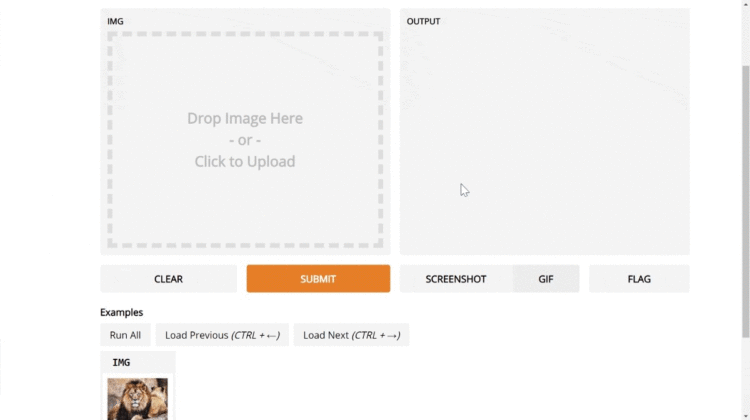
The Gradio Preliminaries
I’m assuming that you’re already somewhat familiar with the Gradio library (https://github.com/gradio-app/gradio). If not, this quick start is a good place to get started. As a refresher, gradio is a Python library that lets you create UIs around your machine learning model by specifying 3 things: a Python function, input component, and an output component.
The AWS EC2 Preliminaries
I’m also assuming that you already have an EC2 instance running Linux and Python3 and you know how to SSH into the machine to run commands on it. If not, here’s a good tutorial to get started with an EC2 instance and a tutorial to install Python3 on your instance.
The first step is to create a file that launches the Gradio GUI for your model. Give it a simple name like demo.py. This file should:
- Load the model
- Define a prediction function using the model
- Launch a Gradio interface with the prediction function and appropriate UI components
Here’s an example such file from the Noise2Same repo, which contains a state-of-the-art image denoising model:
You should run this file locally (for example, by running python3 demo.py) to make sure that the Gradio app launches successfully.
You’re going to need to make just one change so that the Gradio app runs successfully on the EC2 instance. That’s adding a server_name argument to the Interface class and setting it to be 0.0.0.0 . So the modified code becomes:
This allows your Gradio app to be accessible to users from other computers (i.e. across the web).
Once your code is ready, make a GitHub repository for your account with all of the necessary files, including the Gradio app file that you just created. You can use a different version control system if you’d like — we just need to get the code onto the EC2 instance.
We also need to make sure that we designate all of the Python libraries that we will need as dependencies, along with their versions if necessary. So create a requirements.txt file in the root of your repo. Don’t forget gradio. In the case of the Noise2Same repo, this is what the requirements look like:
Once you have added these files to your GitHub project, push your updated repo to GitHub.
SSH into your EC2 instance, and then do the following:
- (Recommended) create a new tmux session by typing
tmux(this will allow the app to continue running even after you end your connection) - In the tmux session, clone the repository for your Gradio application
- Run
pip3 install -r requirements.txtto install all of the requirements for your Python project
Finally, run your Gradio application! For example, if your Gradio file was called demo.py , then simply run the following command:
python3 demo.py
Now, if everything ran smoothly, you should get something like the following output:
This tells you that in our case, the Gradio app is running on port 7860. We now need to allow people to visit that port on our machine. To do that, we edit the security group associated with our instance:
- Navigate to Network & Security settings on the left-hand navigation, and click Security Groups.
- Find the security group connected to your instance
- Choose Inbound rules and click Edit inbound rules
- Click the Add rule button
- For the new rule, under Type, select “Custom TCP.” In Port Range, type the port number (in our case
7860). - In the Source field, enter the range of IP addresses that should be able to access the machine. If you select My IP only your current IP address (i.e. your machine) will be able to visit the machine. If you select Anywhere then anyone across the web will be able to access the interface. You can specify the range of IP addresses as well if you’d like finer control over access.
- Then click Save rules
And that’s it! Your Gradio interface should now be accessibly by simply typing the public IP address of your machine followed by colon, then the port number. In my case, that was: 35.160.54.199:7860 .
